



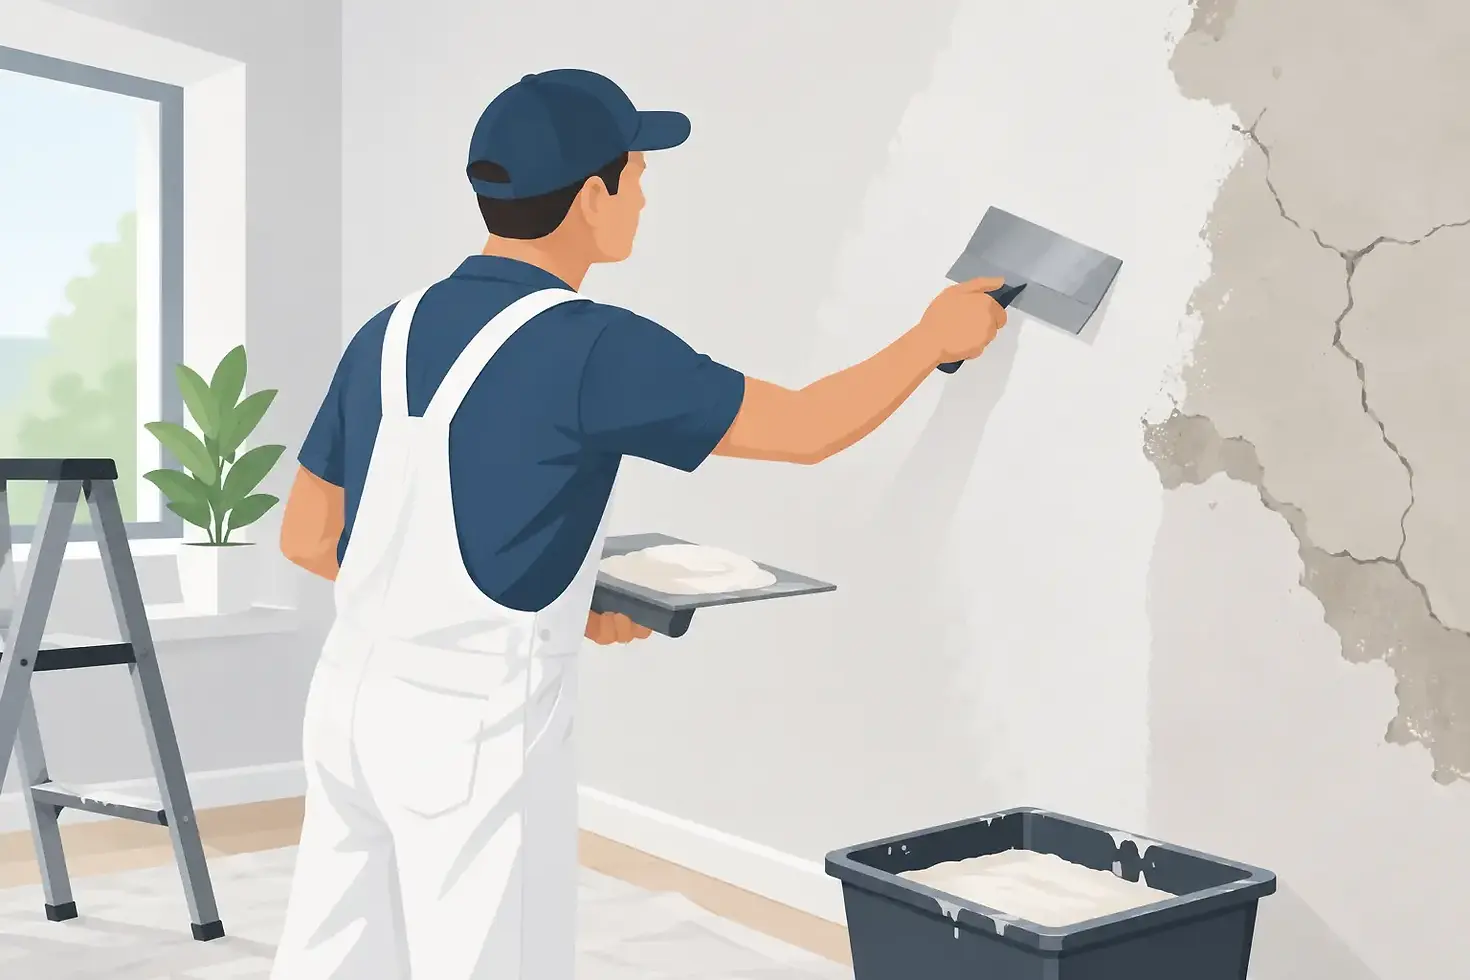
How to Skim Damaged Walls for a Smooth Finish
A damaged wall can make an otherwise tidy room look unfinished. Hairline cracks, blown patches, old wallpaper damage and uneven repairs all show up clearly once paint goes on. Knowing how to skim damaged walls helps you judge whether a repair is suitable for DIY work or whether the wall needs a professional plasterer to put it right properly.
Skimming is a thin finishing coat of plaster applied over a sound background. It can transform a rough, patched surface into a clean, smooth wall ready for decorating. The key point is that skimming hides minor surface defects - it does not solve loose plaster, movement cracks or damp problems underneath.
Check Why the Wall Is Damaged First
Before mixing any plaster, inspect the wall closely. Press around cracks, old repairs and hollow-sounding areas. If plaster moves, crumbles easily or sounds hollow when tapped, it may have lost its bond to the brickwork or plasterboard behind it. That material needs removed and repaired before a skim coat is applied.
Fine, stable cracks are often caused by normal movement in a property, particularly around door openings, windows and older lath-and-plaster walls. These can usually be opened out slightly, filled and reinforced before skimming. Wider cracks, repeated cracking in the same place, or cracks that run through brickwork may point to structural movement. In that situation, investigate the cause rather than simply covering it.
Damp is another issue that should never be plastered over. Look for staining, mould, bubbling paint, a musty smell or salts appearing on the surface. A leaking gutter, failed exterior render, plumbing leak or condensation problem must be dealt with first. New plaster applied to a damp wall is likely to fail, and the damage will soon return.
Prepare the Room and Protect the Finish
Good preparation makes a major difference to the final result. Move furniture out where possible and cover remaining items with dust sheets. Protect flooring properly, remove curtain poles and socket covers where safe to do so, and isolate electrical circuits before working around fittings.
Scrape off loose paint, wallpaper, flaky filler and weak plaster. A wall does not need to be perfectly smooth before skimming, but it must be firm, clean and free from anything that could stop the new plaster bonding. Wash off grease and household residue, especially in kitchens, then allow the wall to dry.
Deep holes and chases should be filled before the finishing coat is applied. Trying to fill a large void with a thin skim coat causes cracking and makes it difficult to achieve a level surface. For plasterboard repairs, make sure boards are securely fixed and joints are taped. Mesh tape is useful over stable cracks and junctions where different materials meet, as it helps reduce the chance of the line showing through again.
Control Suction Before Plastering
Different backgrounds absorb moisture at different rates. Old, dry plaster can pull water from fresh plaster quickly, giving you very little time to work it. Painted walls, meanwhile, may be too smooth or non-porous for plaster to grip without preparation.
A bonding agent or suitable primer is normally used to control suction and improve adhesion. Follow the product instructions rather than guessing the dilution or drying time. This is one area where rushing causes problems: plaster that dries too fast drags and tears, while a poorly prepared painted surface can lead to the skim coat coming away in sheets.
Tools Needed to Skim Damaged Walls
For a small repair, you will generally need a clean mixing bucket, drill and paddle, finishing trowel, hawk, bucket trowel, water brush or spray bottle, straightedge, sanding block and clean dust sheets. Use clean tools and fresh water throughout. Even small pieces of set plaster in the bucket can leave scratches and drag marks across the wall.
For a complete room re-skim, the job becomes more demanding. You need to mix consistent batches, work across large areas before the plaster starts firming up, and keep corners, reveals and ceilings straight. Plastering is one of those trades where the tools are straightforward but the timing takes practice.
How to Skim Damaged Walls Step by Step
Once the background repairs and preparation are complete, mix finishing plaster to a smooth, creamy consistency. Add plaster to water, not water to plaster, and mix until there are no dry lumps. Avoid mixing more than you can use comfortably before it starts to set.
Apply the first coat thinly and evenly, working from the top of the wall down. Put plaster on the hawk, pick up a manageable amount on the trowel and spread it with firm, controlled strokes. The purpose of this coat is to cover the background and start levelling the wall, not to leave a polished finish straight away.
Keep the trowel angle shallow enough to lay the material on without scraping it back off. Fill low spots as you go, but do not leave heavy ridges or thick blobs. A skim coat is usually applied in two tight coats, with the second coat going on once the first has started to firm up but is still workable.
The second coat should be slightly thinner. It fills small trowel marks and allows the surface to be refined. Work methodically across the wall, overlapping each pass. Keep an eye on the edges and corners, as these are where uneven thickness and dragged plaster are most noticeable once the room is painted.
Trowel Up at the Right Time
The final finish depends on timing. As the plaster begins to dull and firm up, lightly wet the surface if needed and trowel it again with a clean blade. This flattens remaining marks and closes the surface. Several light passes are better than pressing hard in one place, which can create ripples, dark patches or burn marks.
Do not overwork wet plaster. If it is still soft, the trowel will pull it apart. If it has set too much, forcing it will leave scratches and lines. This judgement comes with experience, and it is why a wall can look reasonable when first plastered but show every imperfection after drying.
Common Problems to Avoid
The most common mistake is skimming over a wall that is not sound. Loose plaster, damp or ongoing movement will defeat even a neat finish. Another is applying the plaster too thickly in an attempt to hide major hollows. Where a wall is badly out of level, patching, bonding coats or drylining may be the better option before the final skim.
Sanding should be kept to a minimum. A good skim is refined with the trowel, not heavily sanded afterwards. Light sanding can remove a small nib or rough edge once the plaster is fully dry, but aggressive sanding creates dust, exposes uneven areas and can spoil the surface ready for paint.
Avoid decorating too early as well. Fresh plaster needs time to dry fully, which can vary with thickness, ventilation, temperature and the condition of the wall. It should turn an even light colour before painting. Use a mist coat of watered-down matt emulsion first, rather than sealing new plaster with thick paint that can peel later.
When to Call a Professional Plasterer
A small, stable patch is a realistic DIY job for a patient homeowner willing to practise first. A full wall or room re-skim is different, particularly where ceilings, uneven masonry, old lath plaster, damp repairs or awkward stairwells are involved. The finish is highly visible, and correcting poor plastering can take longer than doing it properly from the start.
For homeowners, landlords and property managers across Edinburgh and the Lothians, K Vincent Plastering & Landscaping Edinburgh can assess damaged internal walls, carry out patch repairs or complete re-skims, and leave working areas clean and ready for the next stage of decorating. A clear quote is often the simplest way to establish whether repair, drylining or a full re-skim offers the best value.
A smooth wall is not just about making a room look fresher. Getting the preparation right means the finish has a proper chance of lasting, so your next coat of paint improves the room rather than highlighting the problem you hoped had disappeared.


Comments